Getting Started
The UniView Portal is a SaaS-based management platform that provides UI and API integration across Kaseya's best-of-breed approaches to backup and recovery:
- Unitrends backup appliances
- Datto Backup for Microsoft Entra ID
- Datto Backup for Microsoft Azure
- Spanning SaaS Backup for Microsoft 365, Google Workspace, and Salesforce.
With UniView, you have one screen to manage these environments in minutes per day, regardless of where your data lives.
UniView is modular in design— start with what you need and snap in additional modules as needed.
To get started, log in to the UniView Portal and add your Unitrends Unified Backup products:
- Log in as described in Accessing the UniView Portal.
- Add each Unitrends appliance as described in Adding an appliance.
- Add your Spanning Backup products as described in Integrating a Microsoft 365 tenant, Integrating a Google Workspace domain, and Integrating a Salesforce organization.
- Add Datto Backup for Microsoft Azure as described in Integrating Datto Portal.
Next, quickly monitor and manage your backup products from the UniView Portal:
- For Unitrends appliances, check out the Dashboard to view the status of all appliances at a glance (see Using the Dashboard). To explore more features, see Working with Unitrends Appliances, Assets, and Backups and Using Jobs.
- For Datto Backup for Microsoft Entra ID and Spanning Backup, use the SaaS Backup view to manage your backups and licenses. For details, see SaaS Backup.
- For Datto Backup for Microsoft Azure, use the Dashboard to view summary and status information about your protected assets. For details, see Using Datto Backup for Microsoft Azure.
- View BackupIQ alerts to quickly address issues. Set up conditional alarms and email notifications for more robust alerting. For details, see Working with Alerts and Conditional Alarms.
Add more integrations to leverage other product features (see Using Integrations). For example:
- Integrate KaseyaOne to use these time-saving centralized user management features: Log In with KaseyaOne (Unified Login), Automatic User Provisioning, and Automatic User Deprovisioning.
- Integrate your PSA system (ConnectWise Manage, Autotask, BMS, or Vorex) to automatically create a ticket in the PSA for each BackupIQ alert.
- Add the Unitrends Backup module to your VSA so you can access the UniView Portal from the VSA UI.
- Integrate IT Glue to synchronize your assets and appliances with Kaseya's IT Glue documentation platform.
Steps required to log in vary by whether you log in with KaseyaOne or by using UniView Portal credentials. These considerations apply:
- In some environments, log in with KaseyaOne is required. In this case, if you attempt to log in by using UniView Portal credentials, you are redirected to the KaseyaOne Login page. Log in as described in To log in with KaseyaOne credentials.
NOTE This login procedure requires a KaseyaOne account. If you do not have a KaseyaOne account, request one from Support and set it up as described in this KaseyaOne article: Set up your KaseyaOne user account.
- In some environments, log in with KaseyaOne is optional. You can click Log in with KaseyaOne or enter your UniView Portal credentials:

- In some environments, log in with KaseyaOne is not enabled. In this case, the Login page does not contain the Log in with KaseyaOne button and you must log in by using UniView Portal credentials. For details, see To activate your UniView Portal account and log in for the first time or To log in using UniView Portal credentials.
Use these procedures to access and exit the UniView Portal:
Review these considerations before running the procedure below:
- When your user account is provisioned, you receive a Welcome to UniView email containing an activation link. You must run this procedure within 48 hours of receiving this email to activate your UniView Portal account. If your activation link has expired, contact the UniView Portal Onboarding team to obtain a new link.
- In some environments, log in with KaseyaOne is required. In this case, a UniView account is not needed and you can log in for the first time as described in To log in with KaseyaOne credentials. If you attempt to log in by using UniView Portal credentials, you are redirected to the KaseyaOne Login page.
- UniView Portal requires two-factor authentication (2FA) using a supported TOTP authenticator application. If you are not already using a supported authenticator application, you will need to download and install one to your iOS or Android device before you can log in to the UniView Portal. For details, see Which authentication applications are supported by KaseyaOne?
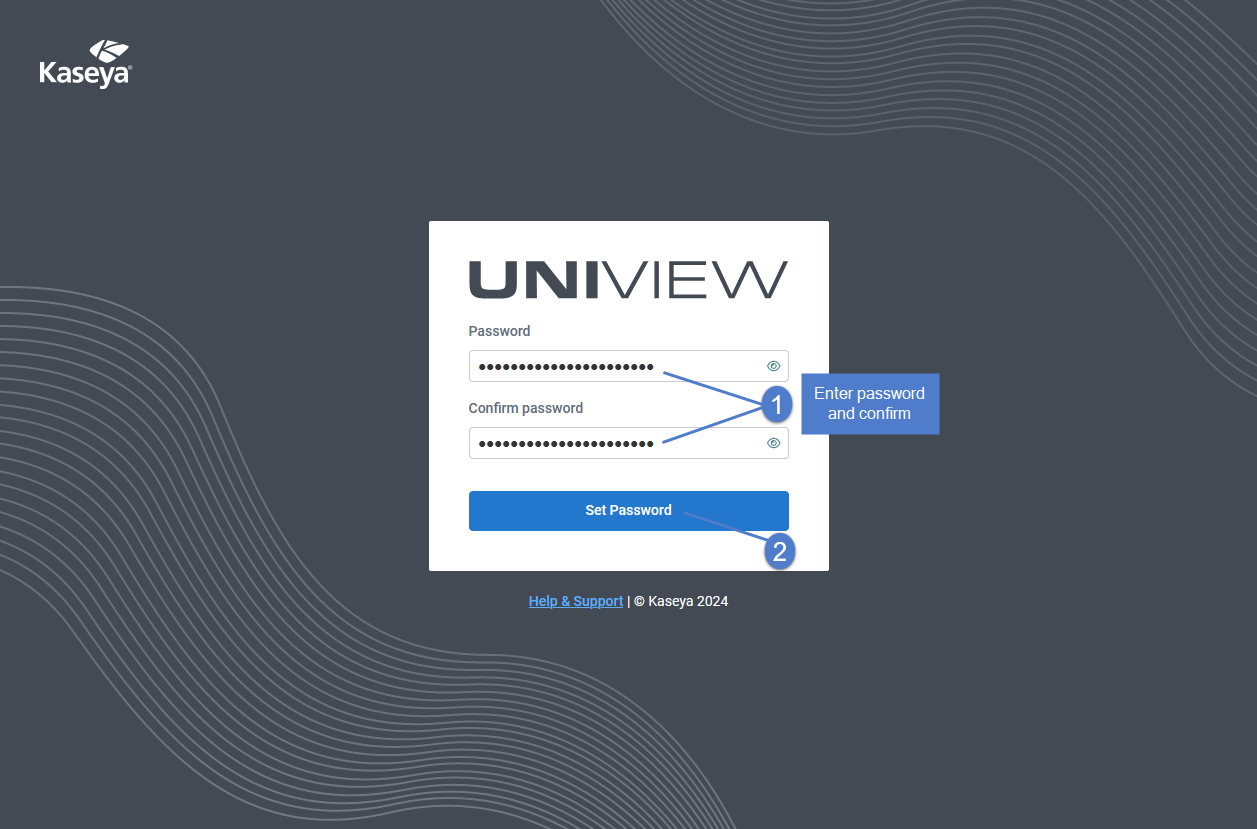
- This procedure includes steps to set your password and to pair the UniView Portal with your authenticator application. These steps are required the first time you log in only.
Use these steps to activate your account and log in:
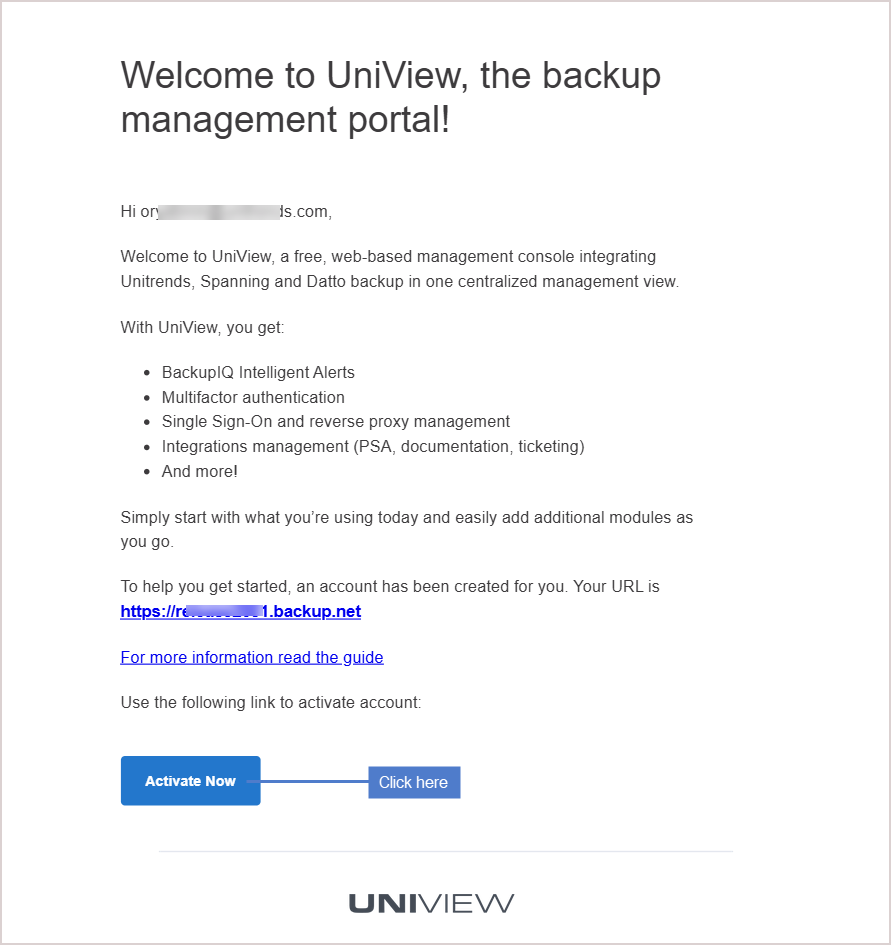
- Open the Welcome to UniView email that you received from no-reply@backup.net and click the Activate Now button.
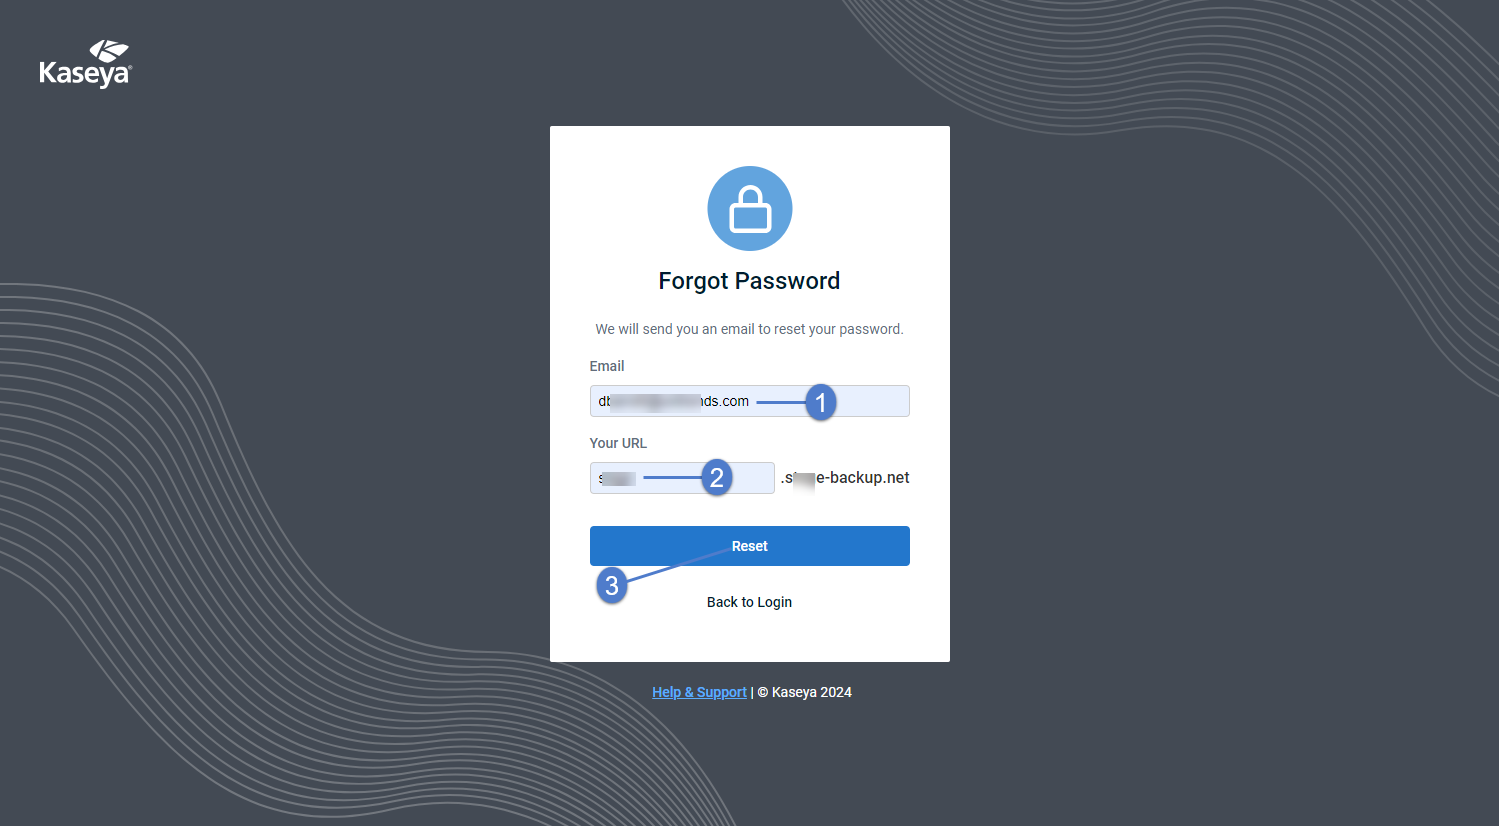
Create your UniView password:
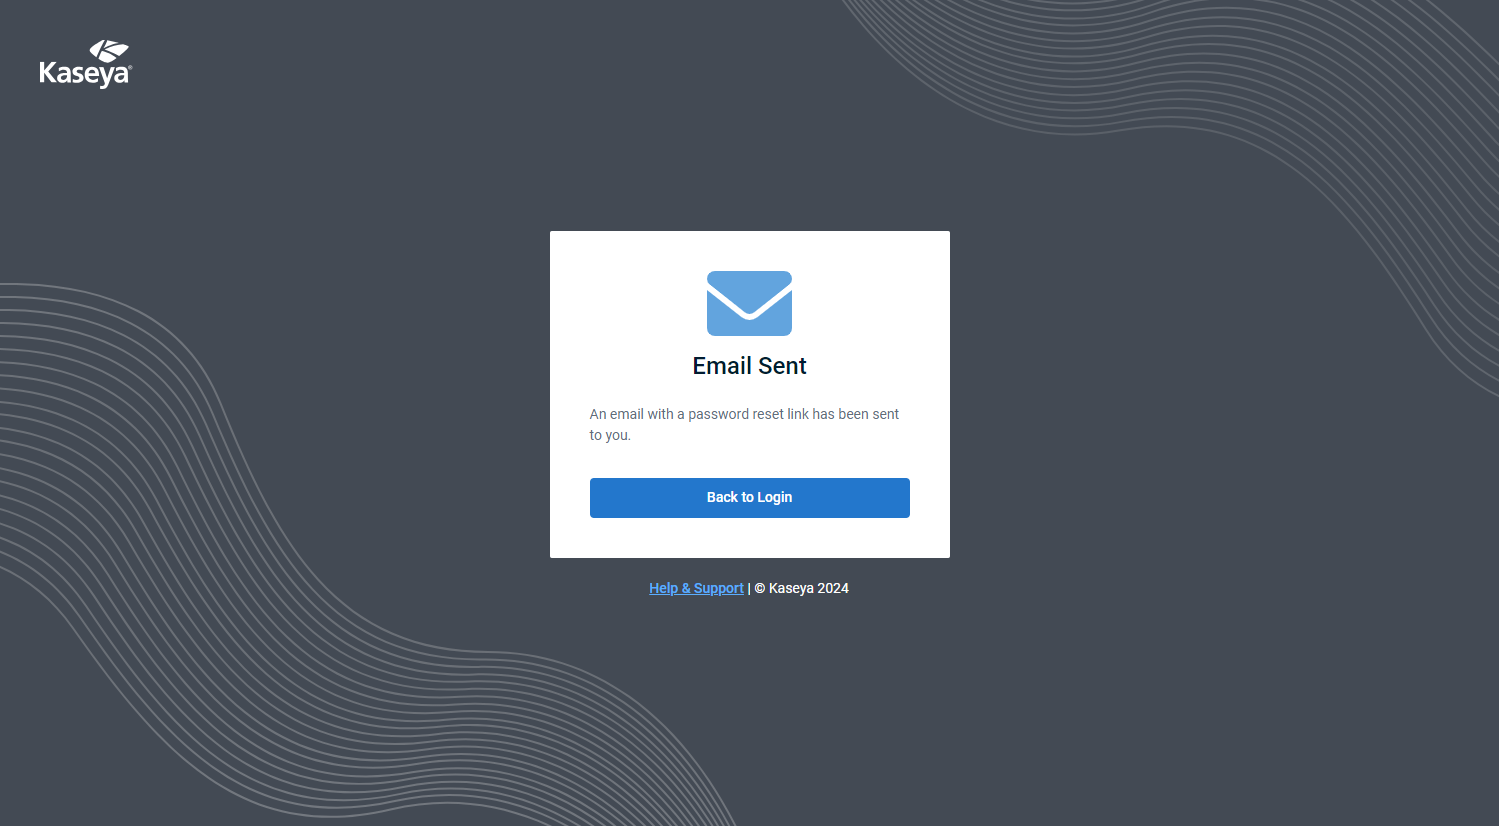
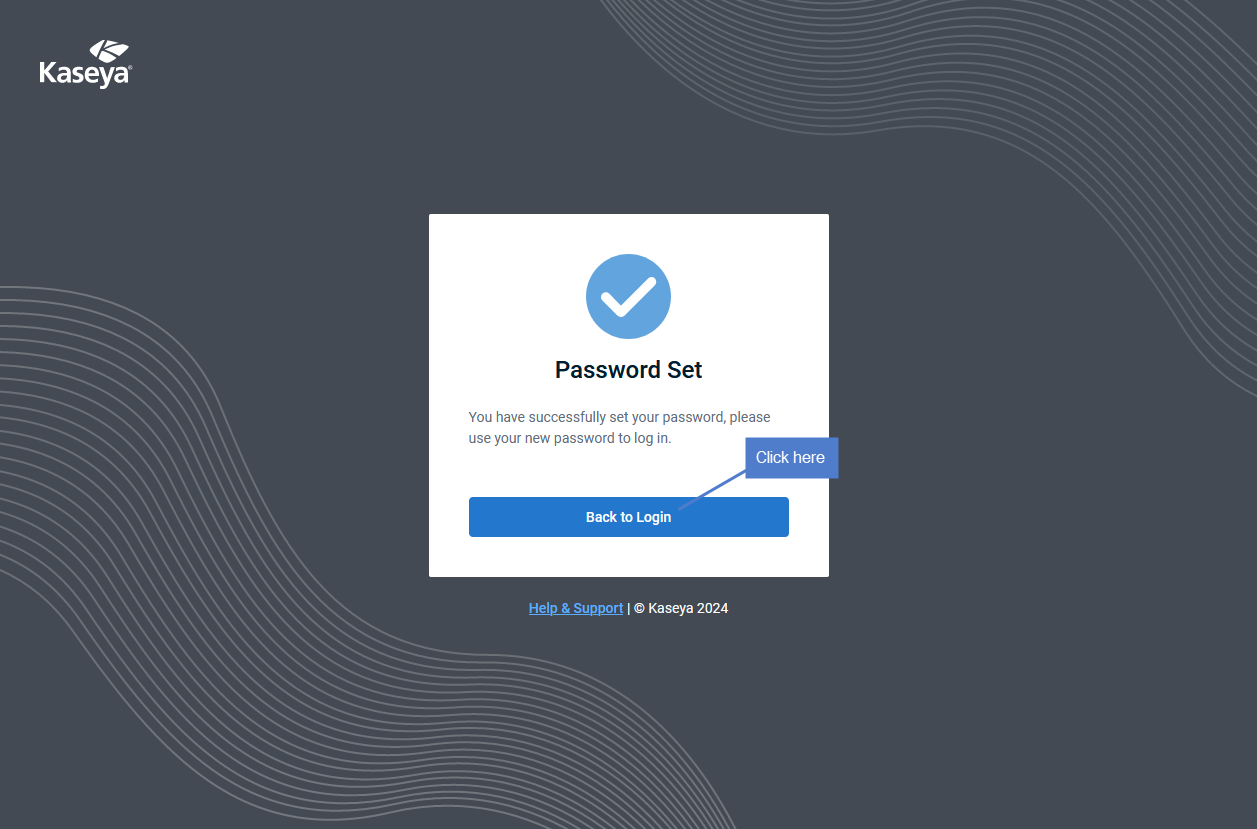
- Click Back to Login.
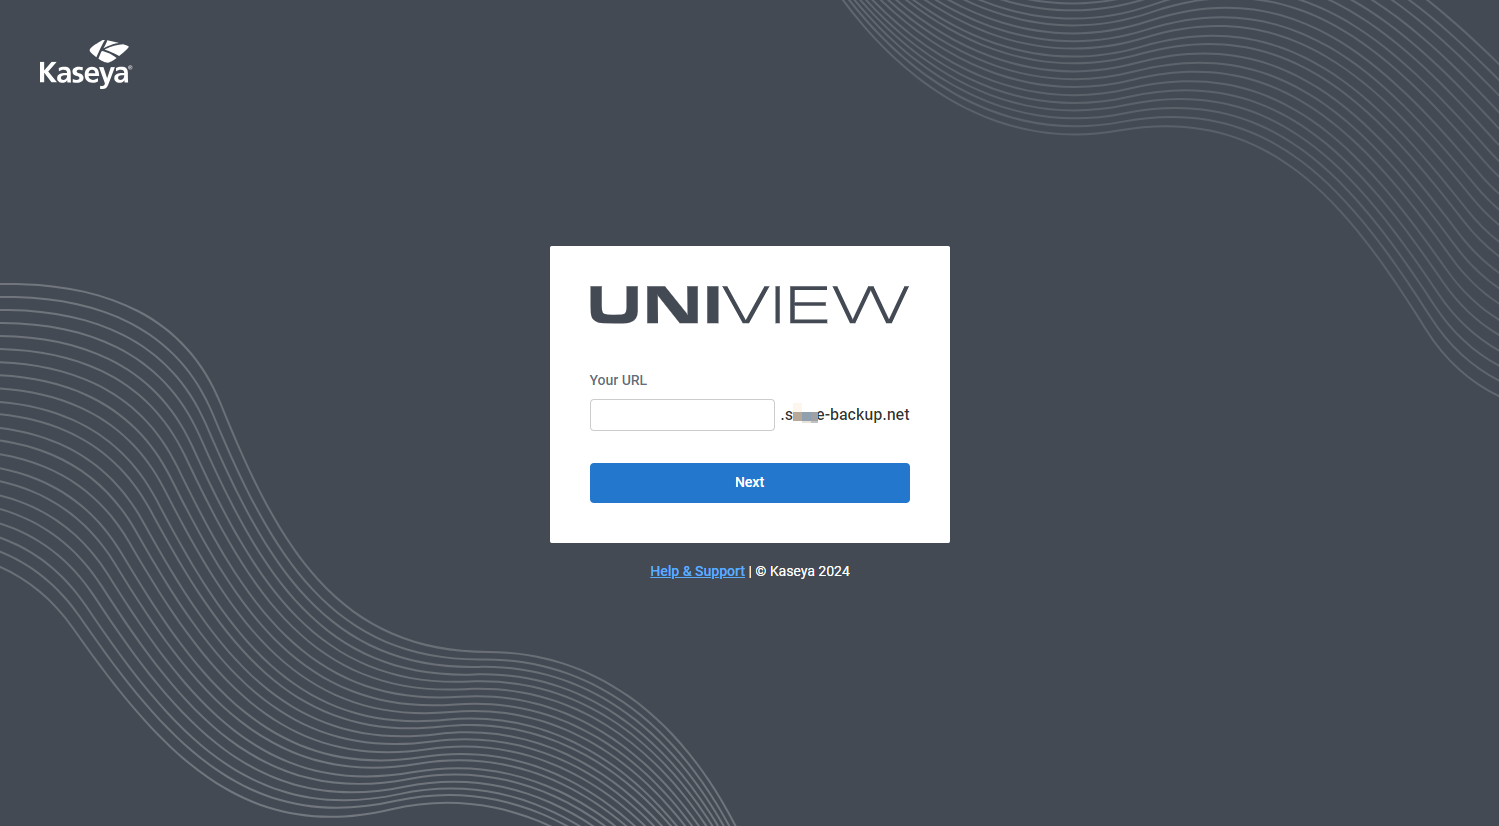
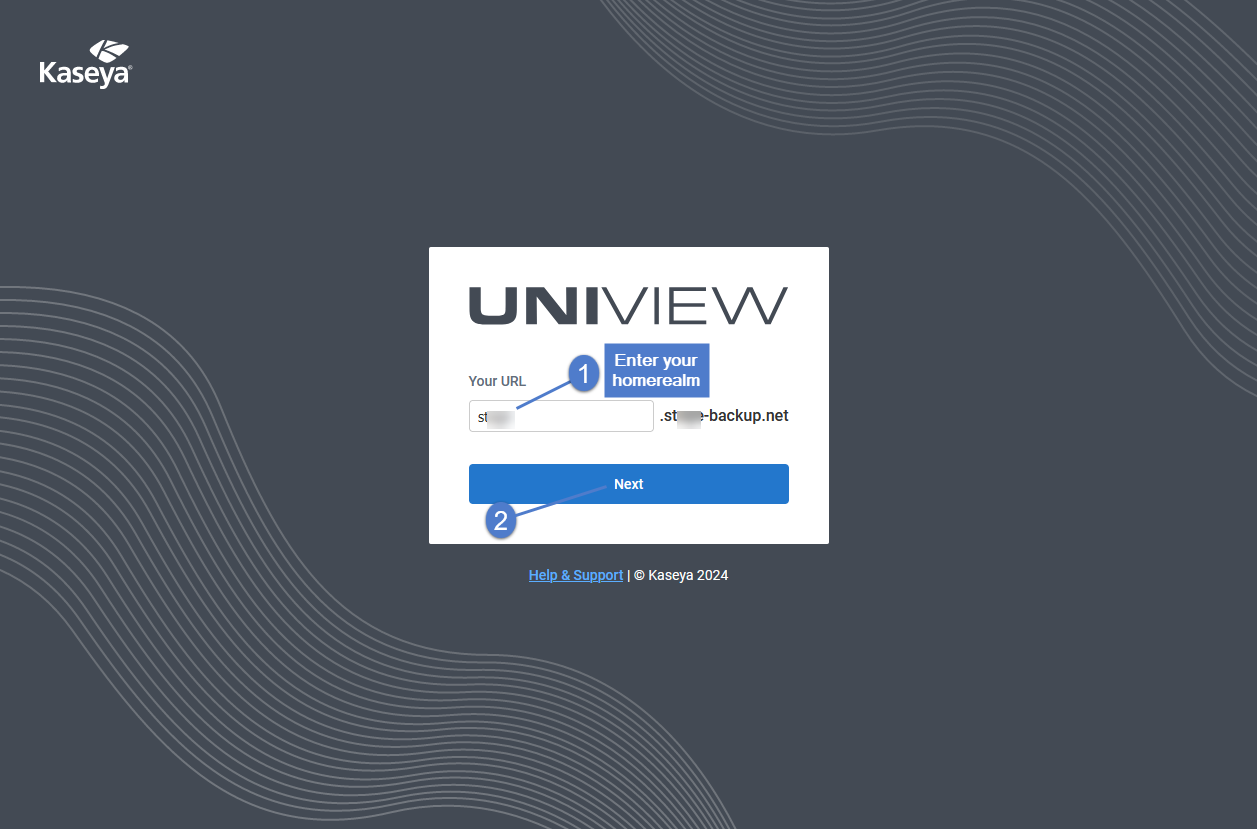
- Enter the backup.net homerealm that was provided to you by the UniView Portal Onboarding team. Click Next.
- Enter the username and password of your UniView Portal account. Click Log In.
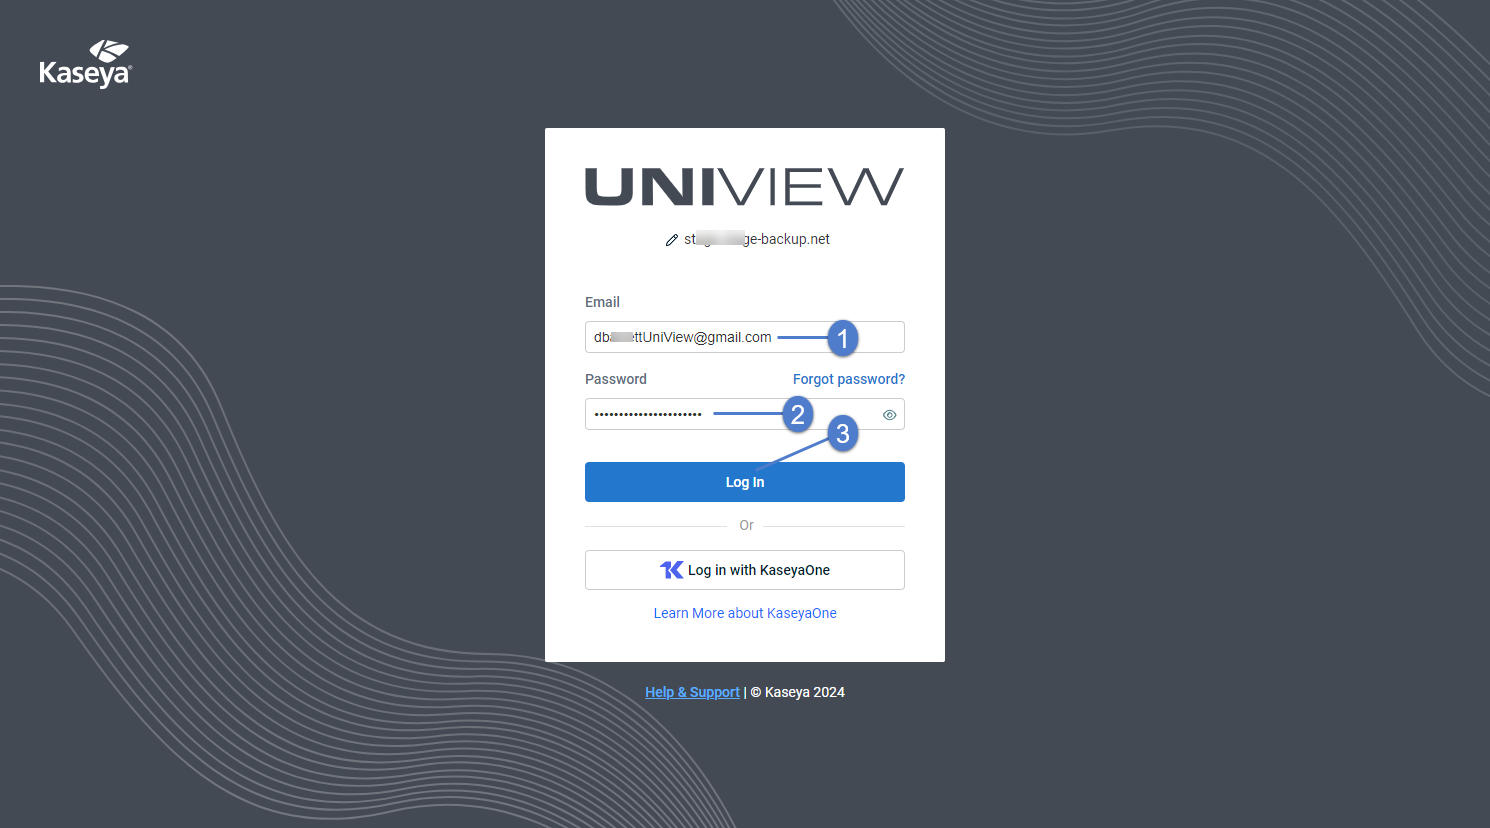
NOTE If you are redirected to the KaseyaOne Login page, log in with KaseyaOne is required in your environment. Do not continue with this procedure. Instead, enter your KaseyaOne credentials (see To log in with KaseyaOne credentials).
- Download and install a supported TOTP authenticator application to your iOS or Android device. (Skip this step if you have already installed a supported authenticator application.)
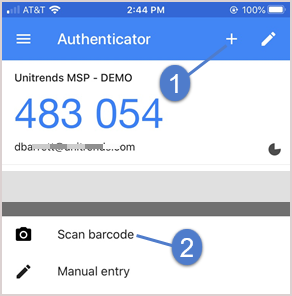
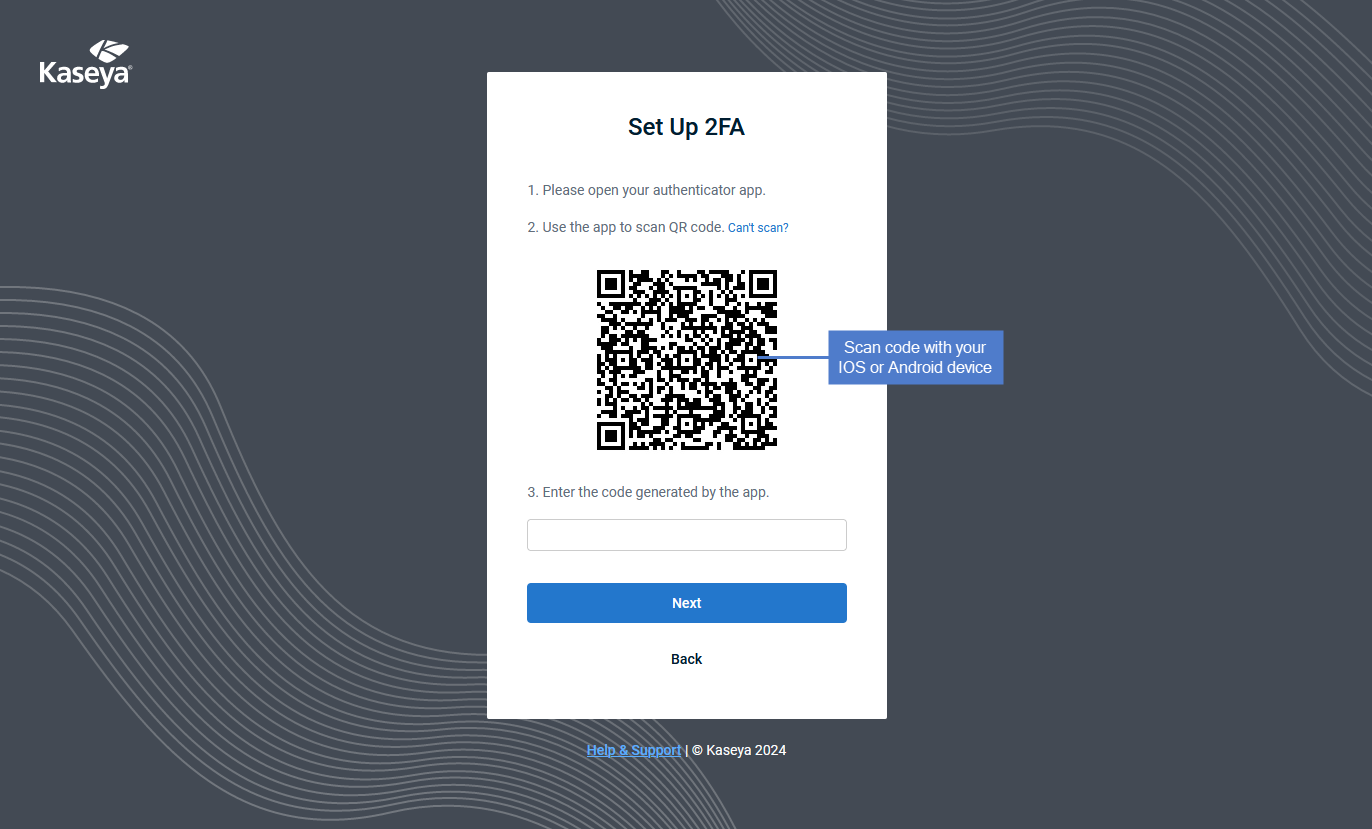
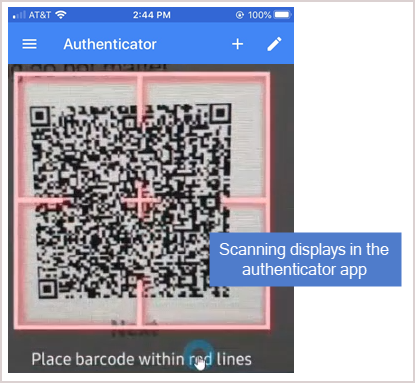
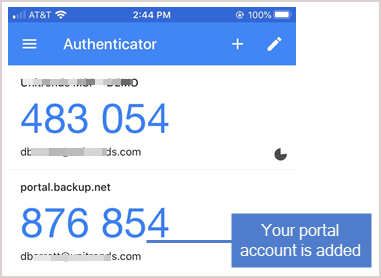
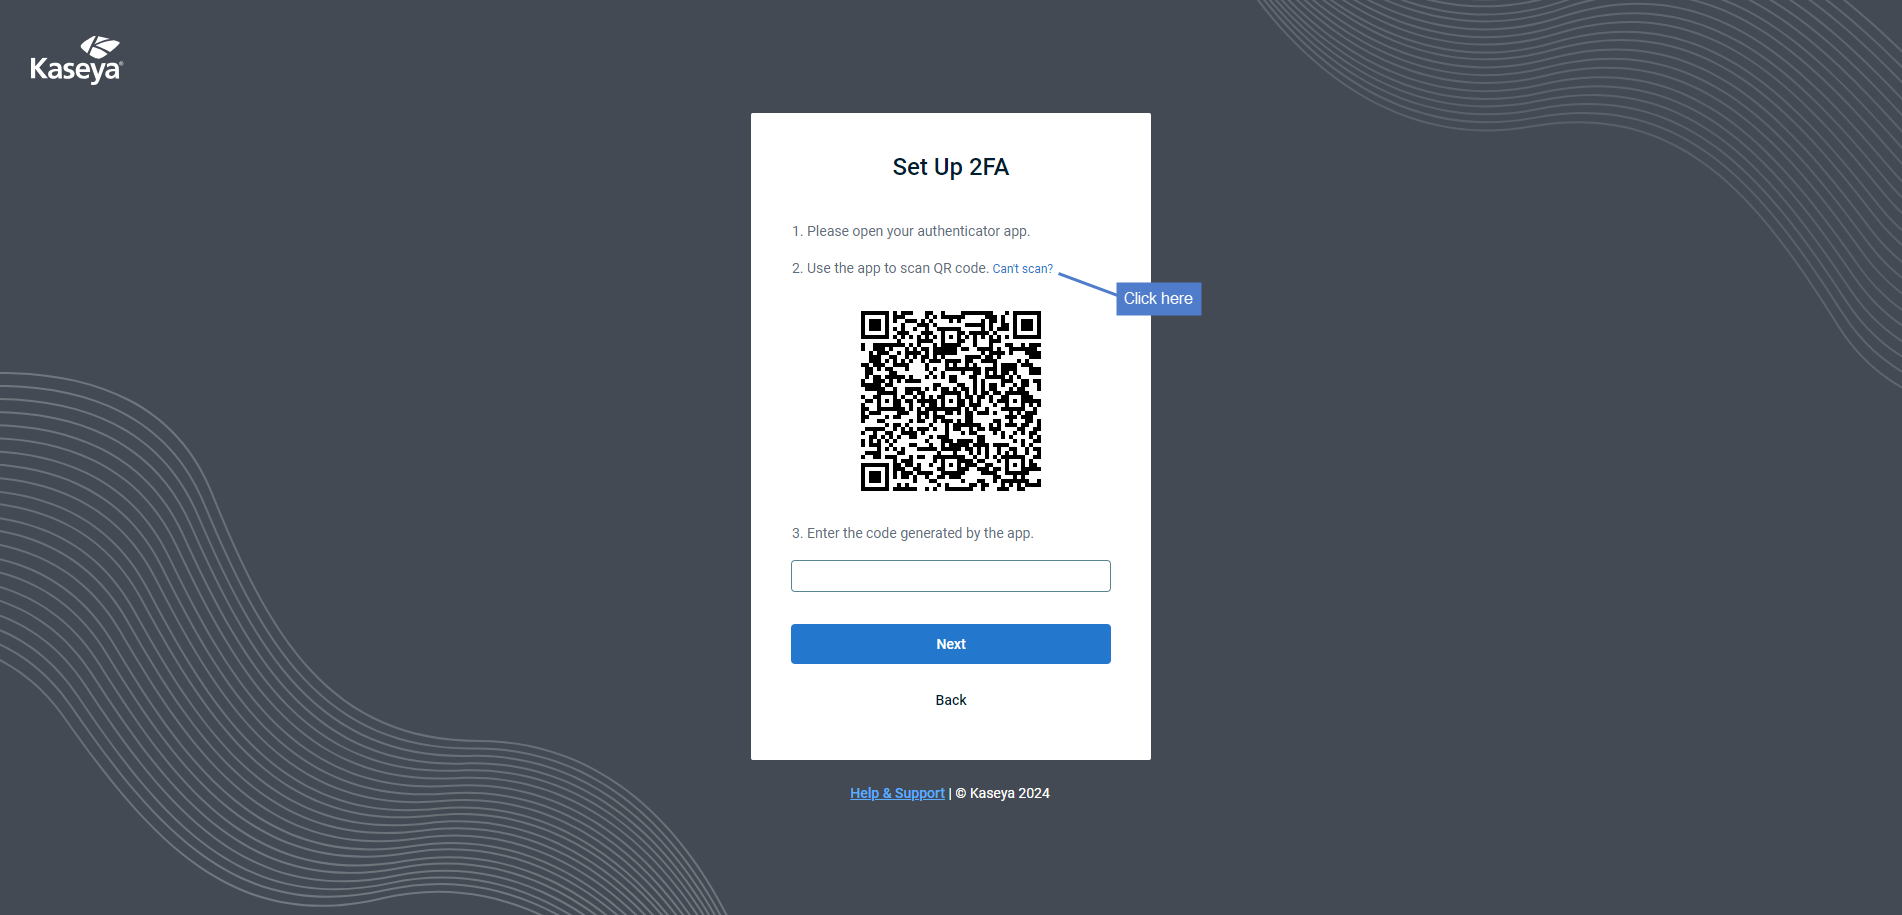
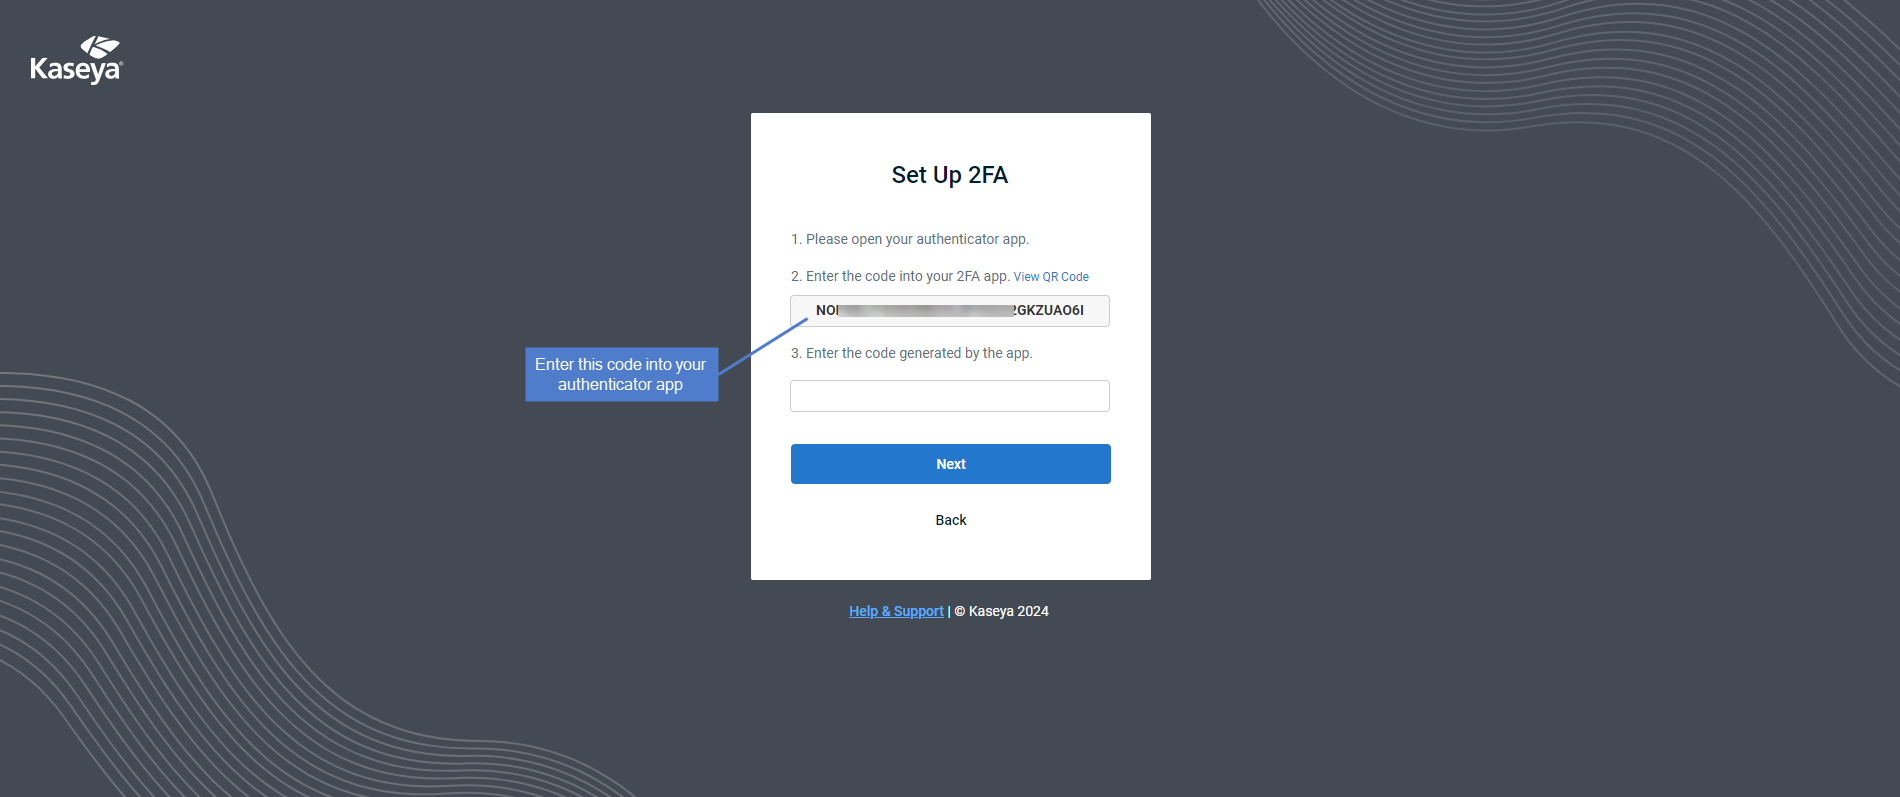
- Pair UniView Portal to your authenticator application by scanning the barcode or manually entering the QR code. Examples of both methods are given below.
Scan barcode:
Manually enter QR code:
- Return to the UniView Portal and enter the 2FA code supplied by the authenticator application. Click Next.
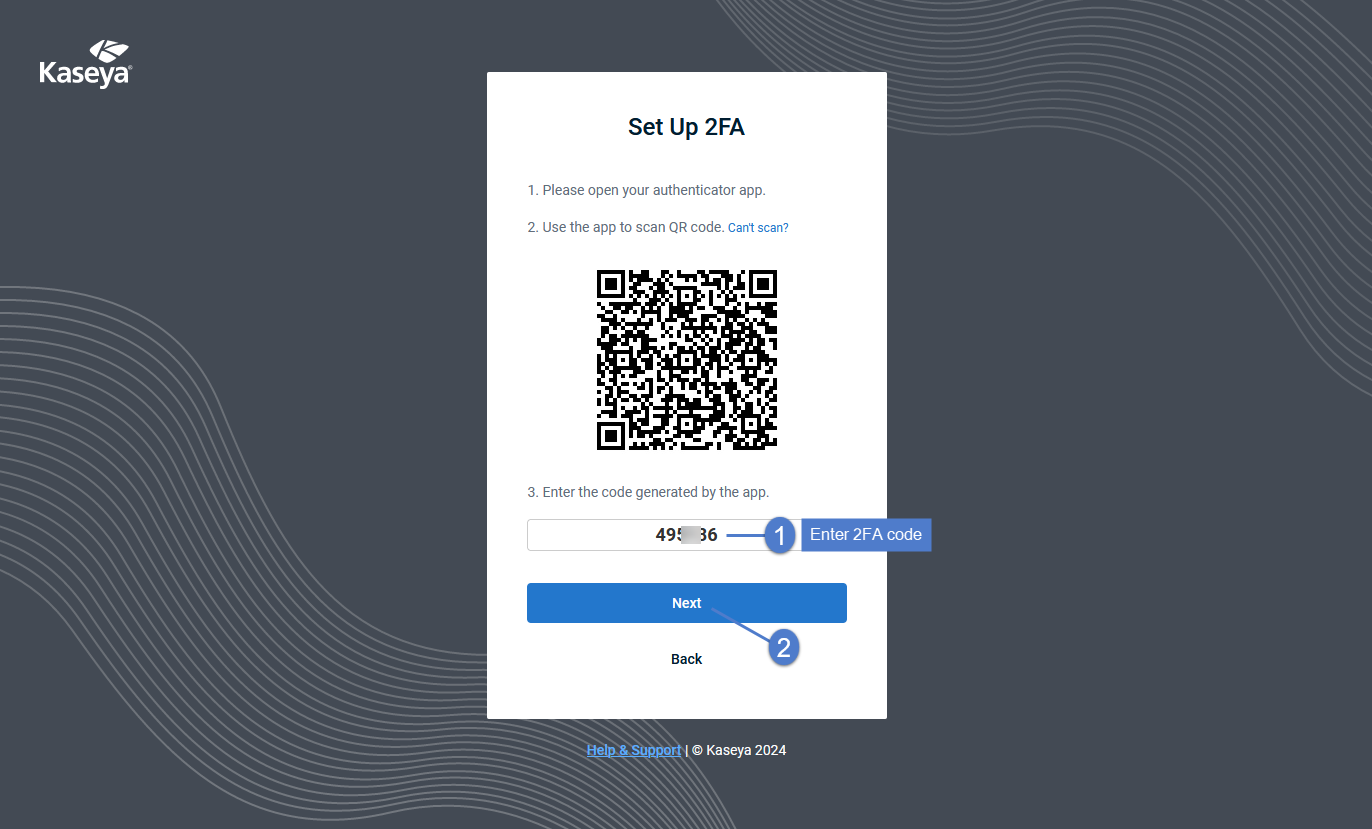
NOTE You must enter the code within the 30-second expiration period. Otherwise, you need to enter the next non-expired code displayed in the authenticator application.
- Save the recovery codes listed below. You can use them to log in without your authenticator app. Click Save & Done.
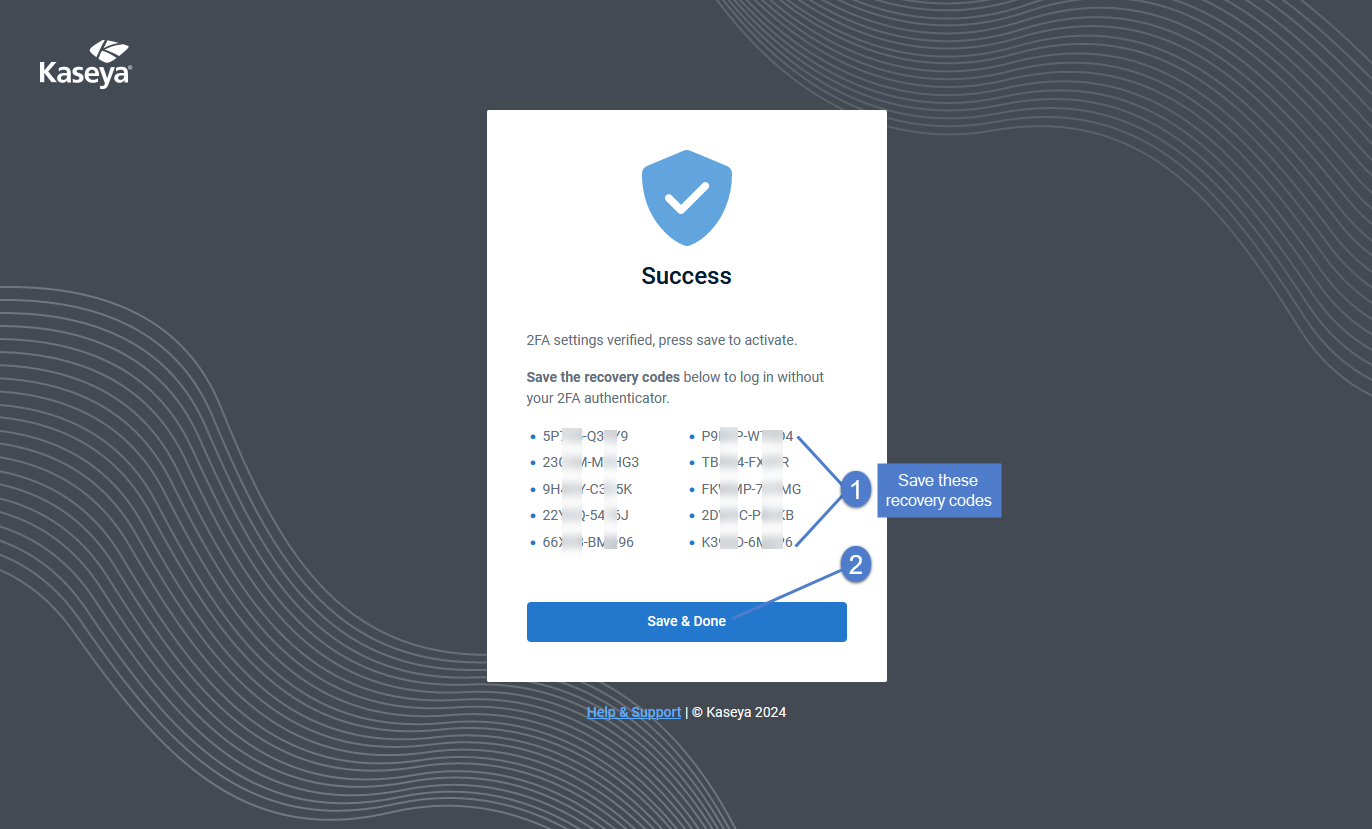
NOTE You can quickly copy and paste the codes into a text editor (e.g., Notepad). Each recovery code listed below can be used one time only. Use these codes sparingly.
- Open a Firefox or Chrome browser and enter https://login.backup.net/ to access the Login page.

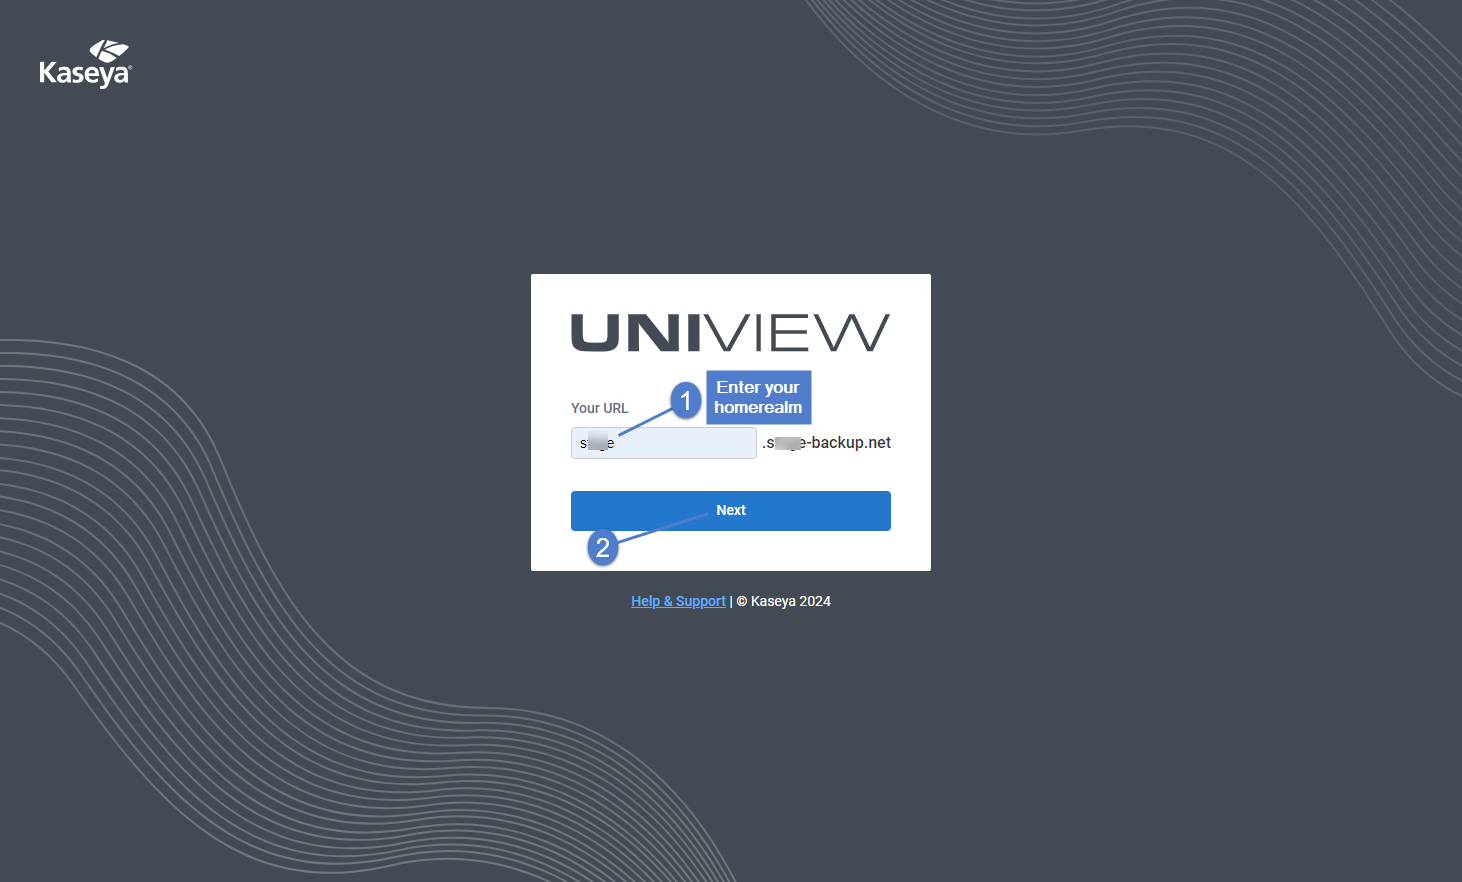
- Enter the backup.net homerealm that was provided to you by the UniView Portal Onboarding team. Click Next.
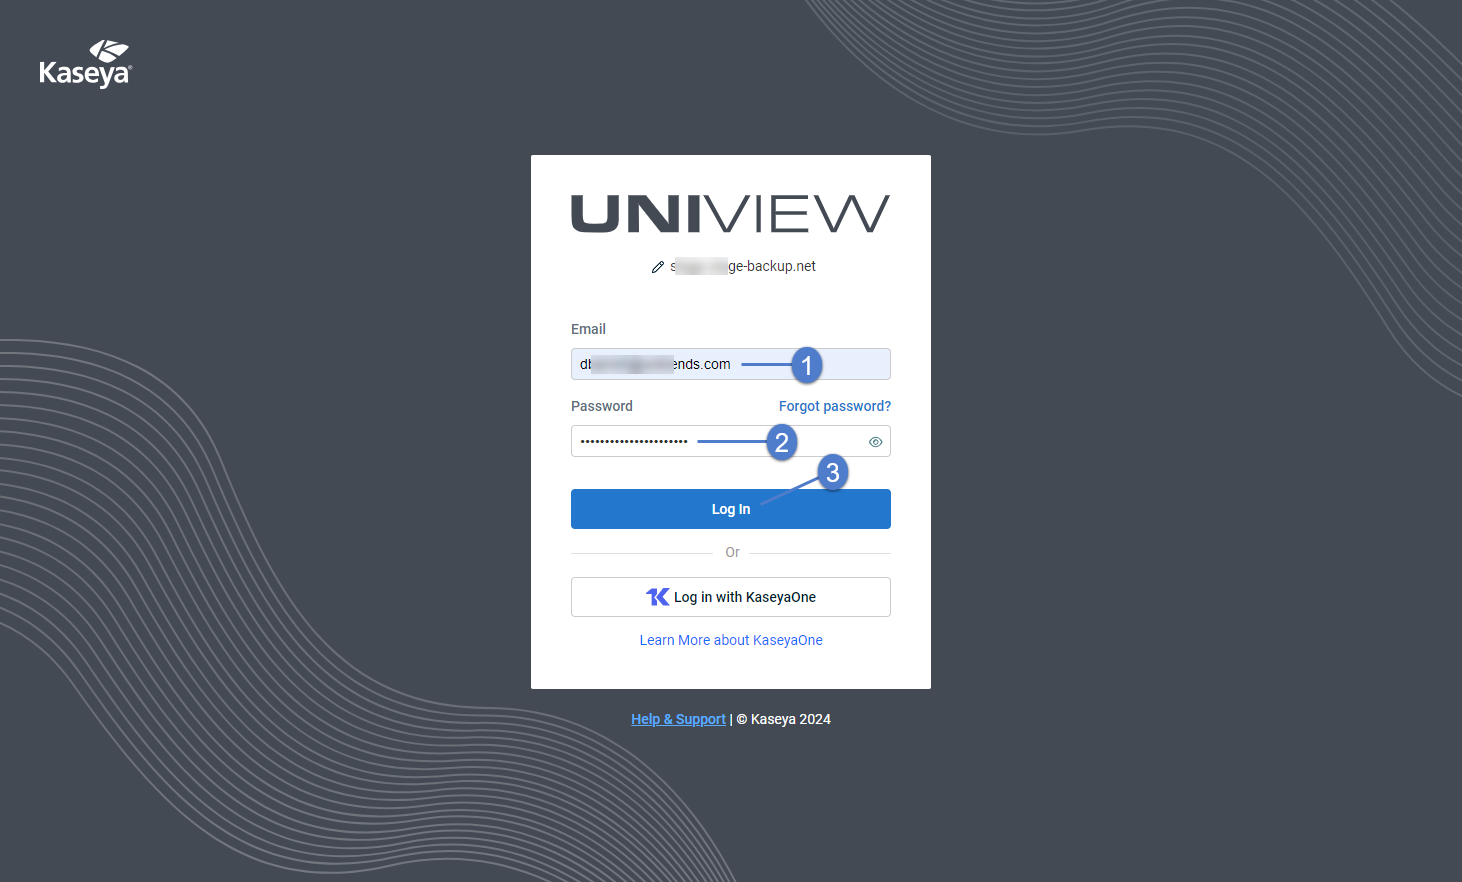
- Enter the username and password of your UniView Portal account. Click Log In.
- Enter your two-factor authentication (2FA) code, then click Verify. You can obtain the code from your authenticator app or use a recovery code.
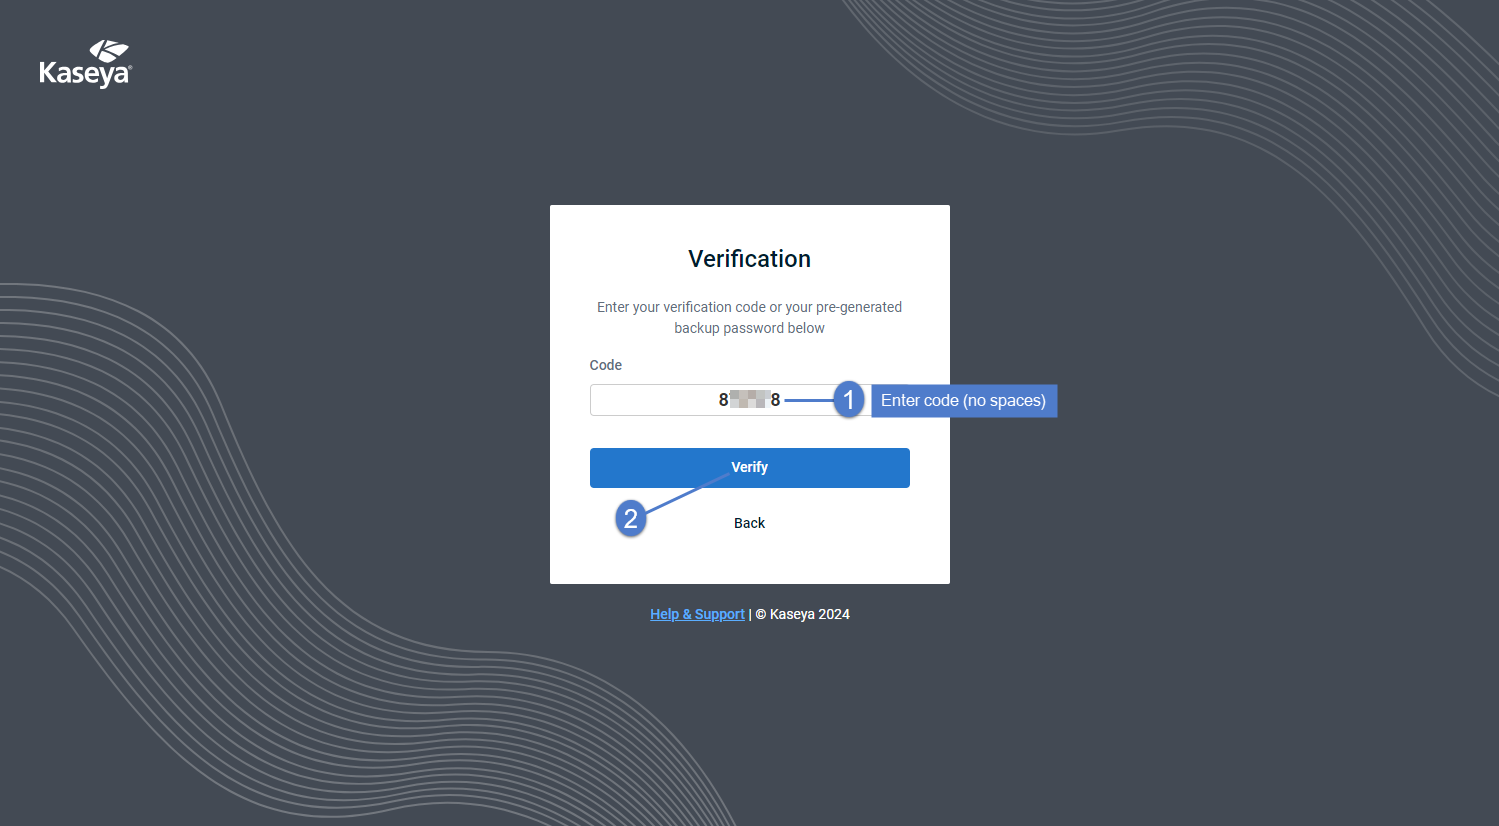
NOTE Only use a recovery code if you have lost your IOS or Android device, or cannot access your authenticator application for some other reason.
KaseyaOne is Kaseya's integrated platform of IT and security management solutions. Use this procedure to log in to the UniView Portal by using your KaseyaOne account credentials.
- Open a browser and enter https://login.backup.net/ to access the Login page.

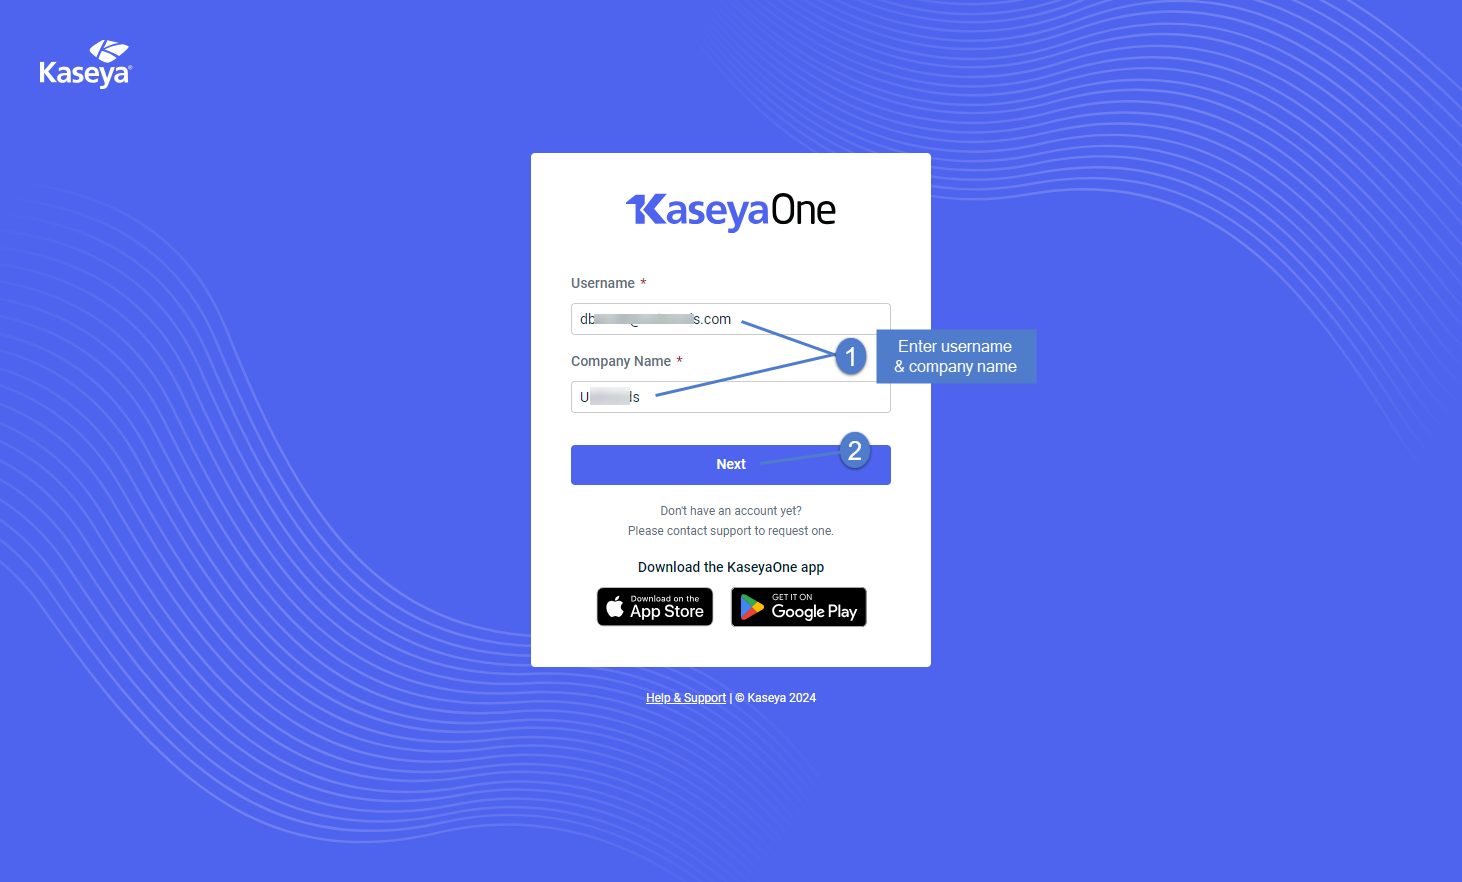
- Enter the backup.net homerealm that was provided to you by the UniView Portal Onboarding team. Click Next.

- Enter your Email and Password. Click Log in with KaseyaOne.
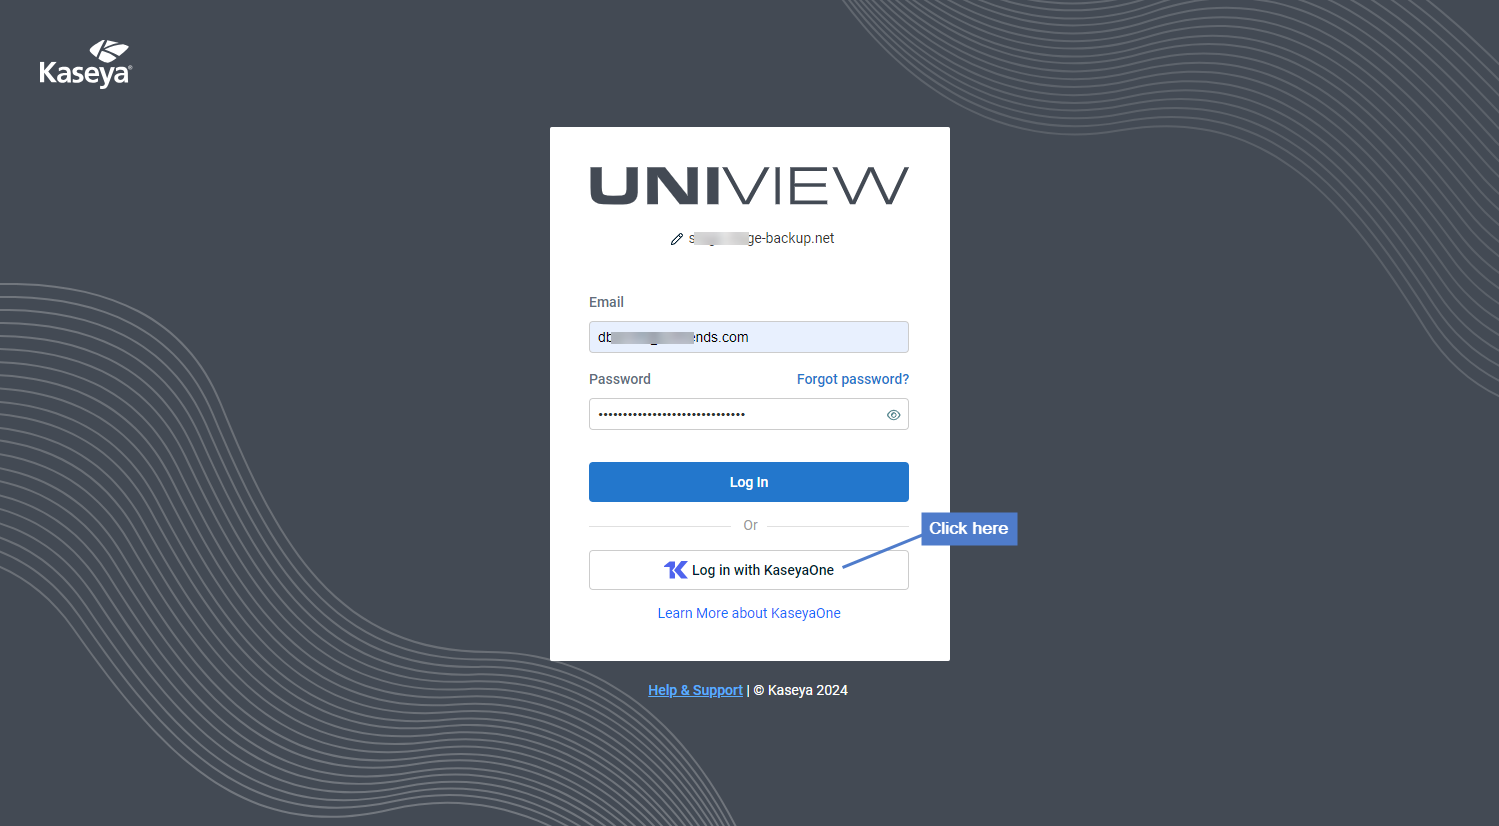
NOTE If you do not see the Log in with KaseyaOne button, this feature is not available in your environment.
NOTE If you are currently logged in to KaseyaOne, you are not prompted to enter your KaseyaOne credentials. You are automatically logged in to the UniView Portal portal without doing the remaining steps in this procedure.
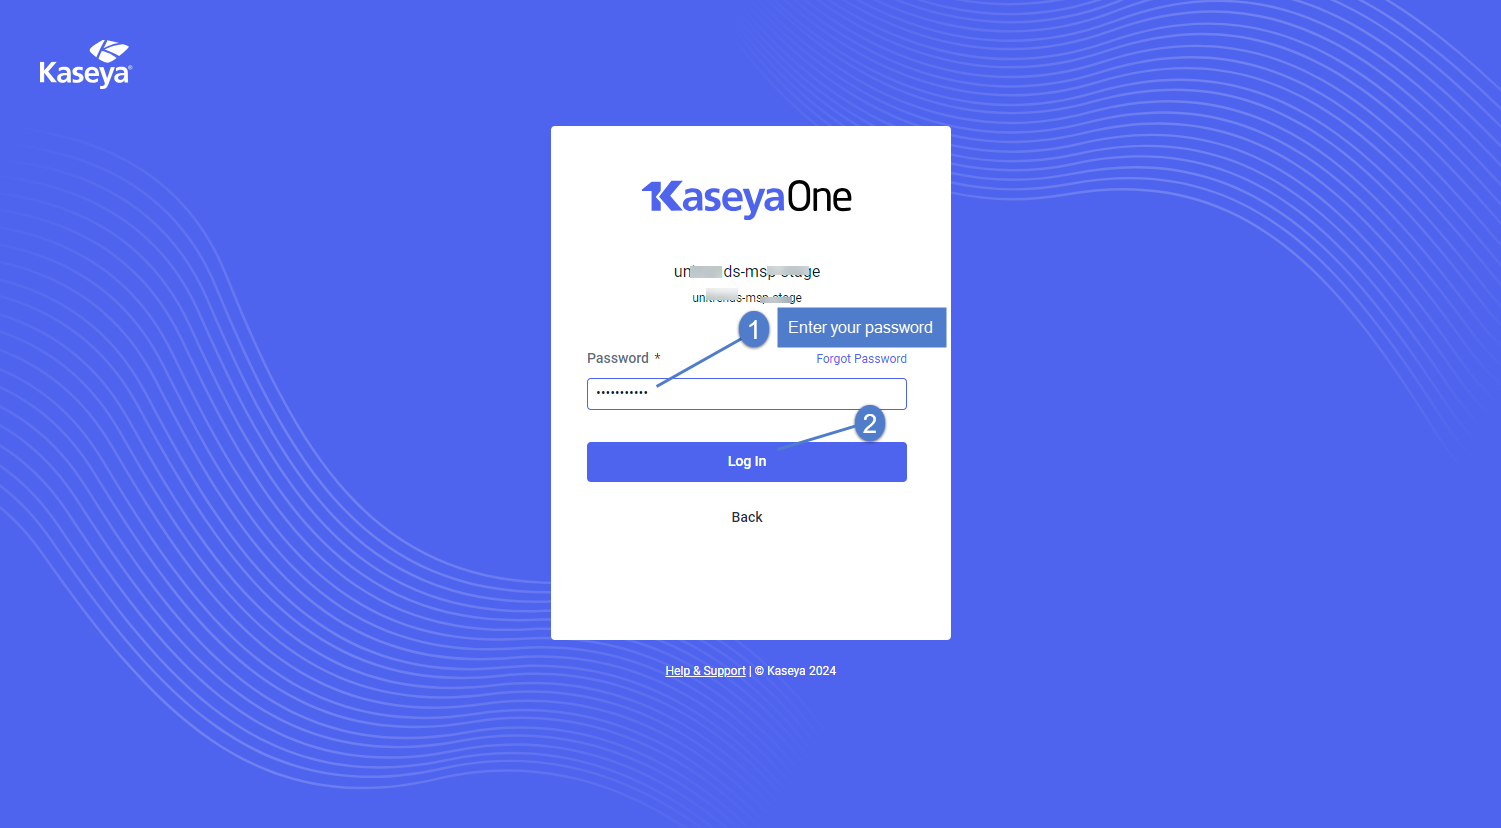
- Enter your KaseyaOne Password. Click Log In.
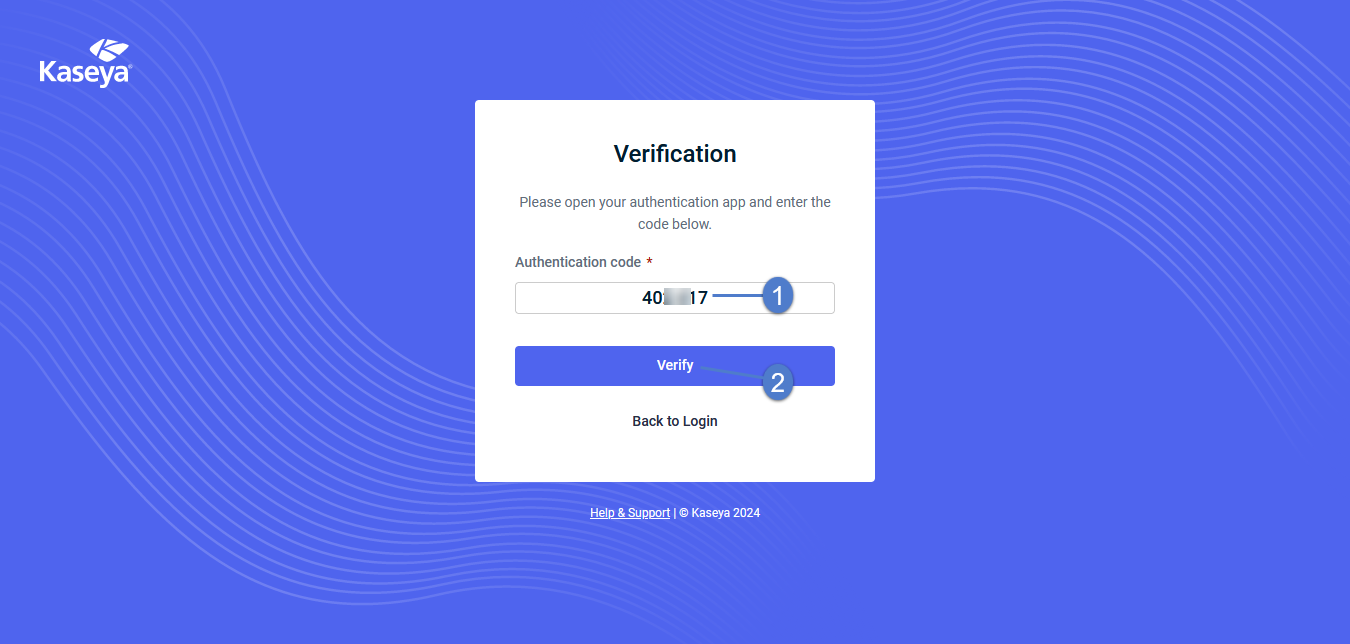
- Enter your two-factor authentication (2FA) code, then click Verify. (You can obtain the code from your authenticator app.)
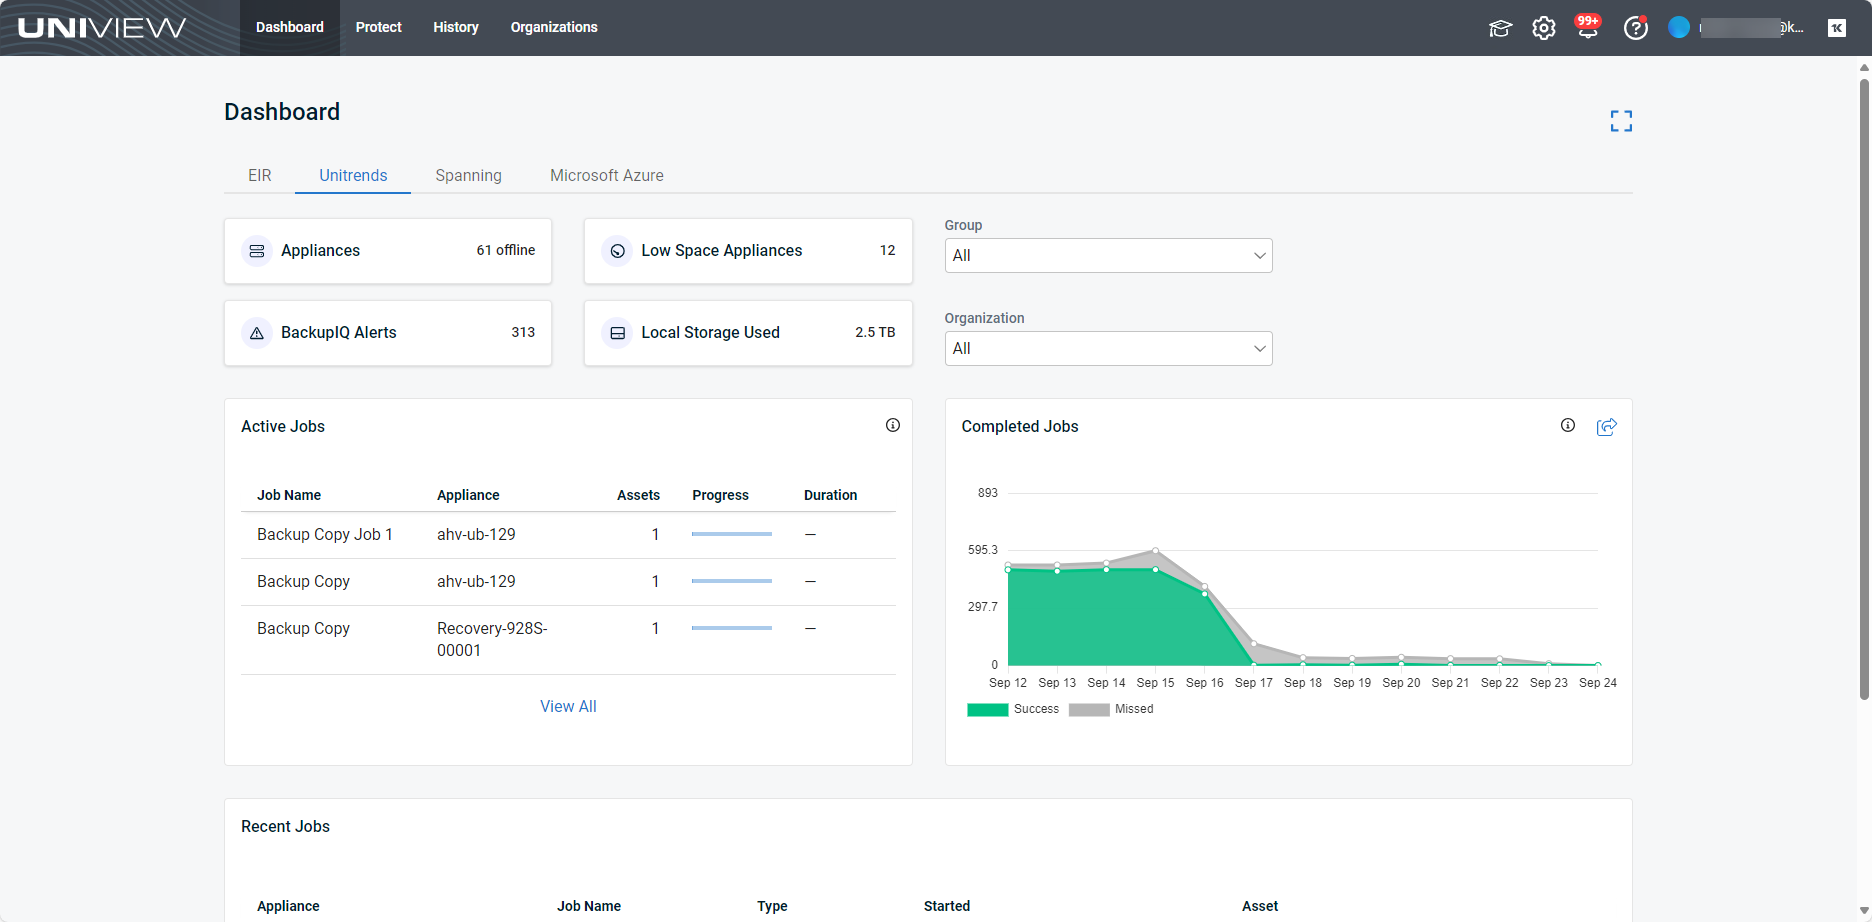
- You are logged in to the UniView Portal:
NOTE If you see a warning message indicating that your UniView and KaseyaOne usernames do not match, run this procedure to resolve the issue: To remove an older KaseyaOne/UniView mapping that was created with mismatched user names.
Single-sign on with KaseyaOne credentials now requires matching KaseyaOne and UniView usernames. If you had enabled SSO with mismatched user names in a previous release and received a warning message when logging in with your KaseyaOne credentials, use this procedure to remove the mapping of your mismatched UniView Portal and KaseyaOne user accounts.
After running this procedure, simply log in using your KaseyaOne credentials (see To log in with KaseyaOne credentials).
NOTE To disable login with KaseyaOne for all UniView Portal users, see To disable or re-enable Login with KaseyaOne.
To remove the KaseyOne/UniView mapping:
NOTE If you do not see Disable Login with KaseyaOne, this procedure is not applicable because your KaseyaOne and UniView usernames already match (or the KaseyaOne integration has not been added to UniView Portal).
- The mapping is removed. You can now log in using your KaseyaOne credentials.
Check out these additional resources:
We've added a new product tour experience with interactive walkthroughs for the Spanning Backup features described in the table below. Stay tuned for walkthroughs of additional UniView Portal features in upcoming releases!
-
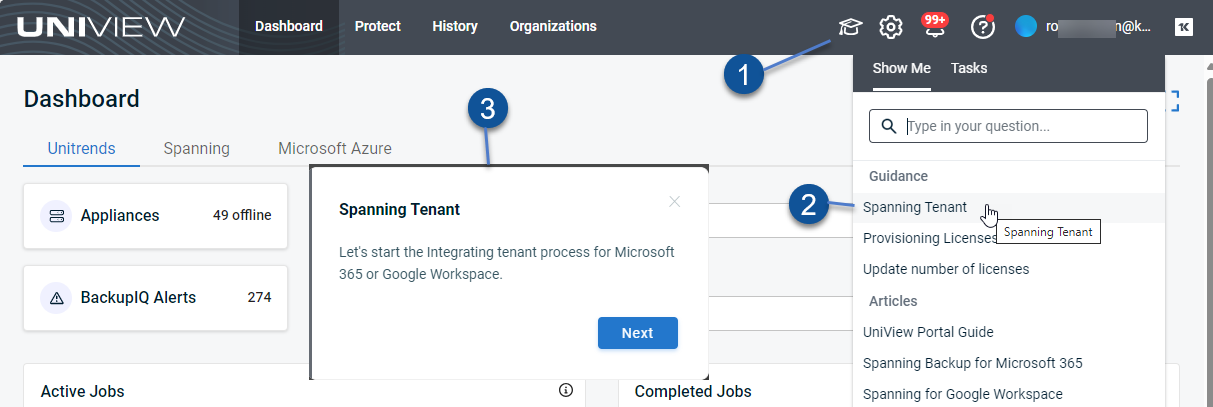
To access the "Show Me" tour feature, log in to the UniView Portal with an admin or superuser account.
-
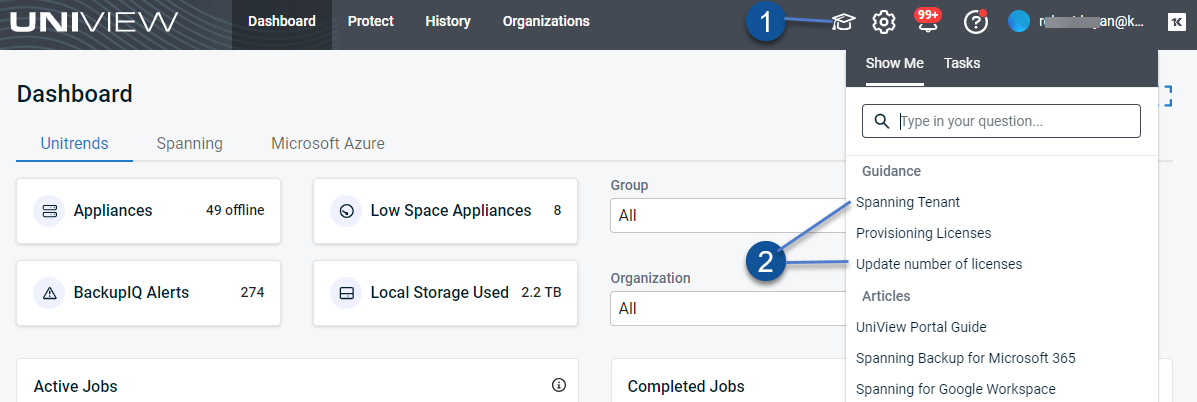
To launch a "Show Me" tour, click
 and select an item under Guidance on the Show Me tab.
-
To view product tour tasks and progress, click
 and select the Tasks tab.
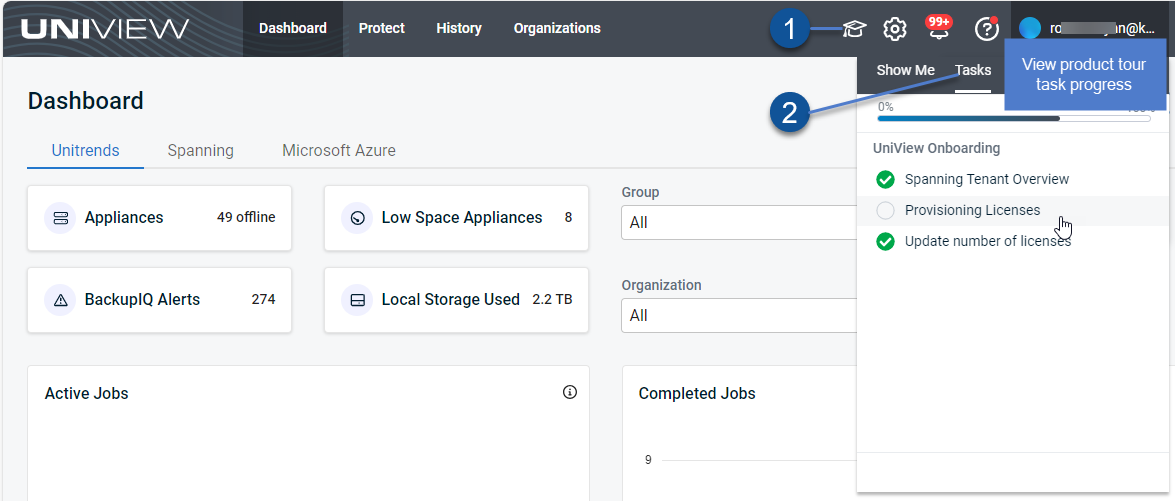
"Show Me" product tours are described here:
Click ![]() to access resources on the Help menu:
to access resources on the Help menu: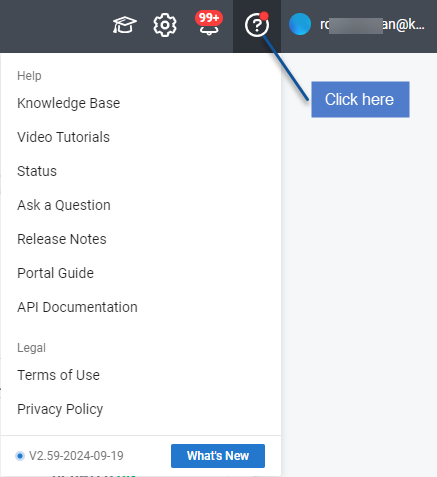
Ask a question
Please let us know if you have any questions about UniView.
Click Ask a Question, then log in to KaseyaOne to ask your question.
Provide feedback
Please give us your feedback so that we can make improvements to our services in the future.
Click Provide feedback, then select the product you want to provide feedback on.
Select your feedback type, add your feedback, then click Submit.
